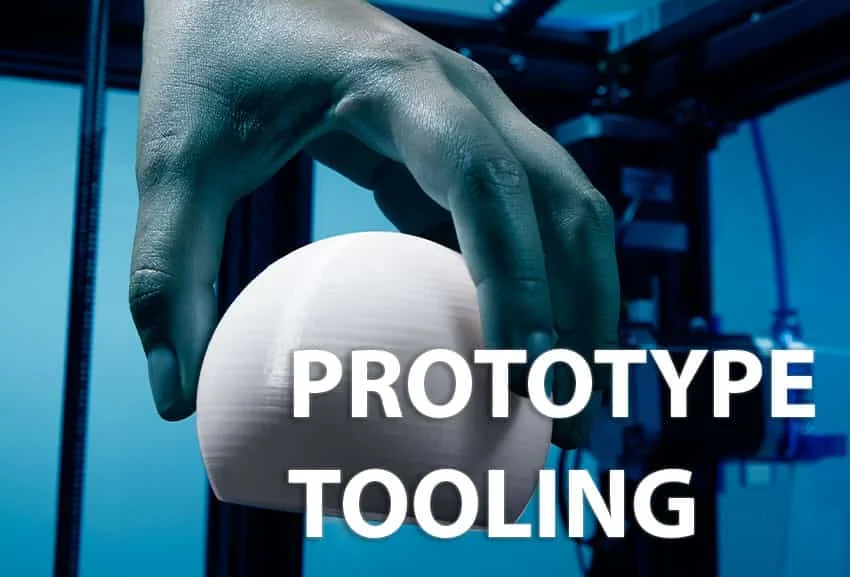
Although the word “prototype” may sound very technical or advanced to be developed, there are methods to test an idea in a short time and at a low cost. We are talking about prototype tooling, find out in this article what it is and why you should consider it in your product development process.
Prototype tooling explained
Prototype tooling is a method used in rapid prototyping to create different parts for a prototype with the help of low-cost injection molds. This method, also known as soft tooling or rapid tooling, allows the creation of several parts as fast as possible. Usually, the materials that can be used with this method are: silicone rubber, aluminum alloy, a combination of steel and aluminum, and soft steel.
Many entrepreneurs or startups use this method to do several tests of the prototype before sending it to mass production. Prototype tooling will be a quick way to get your “product” in the hands of the engineering team, or potential customers. However, bear in mind the materials needed for this method won’t be of great quality, so the prototype won’t be fully reliable or enduring.
Consider it as a strategy for testing, redesigning and testing again.
Benefits of prototype tooling
Let´s analyze some of the benefits this type of rapid prototyping process provide to startups, inventors, entrepreneurs, and CEOs.
Low budget
One of the main benefits of prototype tooling is the capacity to invest a low amount of money compared to a mass production process. When you apply prototype tooling, you can use materials that are cheap for producing the different parts of your prototype.
For instance, a mold made with silicone rubber may cost around $1,000 dollars. One mold made with soft steel may cost around $3,200 dollars. And a mold made with aluminum alloy around $4,500 dollars. These values may look expensive, but really, a mold for hard tooling, that is, the one used for mass production of a finished product will be more expensive than $6,000 dollars.
You may think it is a good option to go straight to the hard tooling and pay for the final mold that will give you millions of units of your product, however, think about this, what happens if you later discover that the prototype had a design flaw? You will waste thousands of dollars in a mold that you won’t be able to use anymore.
The best recommendation is to try a prototype tooling method and test your prototype to make sure it’s ready for mass production.
The con here is that the created mold for prototype tooling won’t be permanent, they usually can be used between 15 and 20 times; if you use for example silicone rubber. On the other hand, molds made with aluminum alloy and a hybrid of aluminum and soft steel can be used a lot of times to produce the parts of your product before the mold starts to melt or breaks; over 9,000 times for the first, and over 30,000 for the second.
But, remember, if your goal is just to test your prototype for final adjustments or maybe to show it to specific customers to check its performance or acceptance, don’t focus on the quantity of parts you can get from a mold, but the learnings you get from the low-cost version of your product.
Time saving
If you need to test your prototype quickly, this method will help you take advantage of time. Rapid prototype tooling will provide you with plastic parts (not too complex) to build a limited number of prototypes in a short time.
In contrast, in high production molds, the product parts can take up to 2 months to be produced, of course, the material and the mold may last for years, and you get a high amount of parts which are complex and with detailed cavities, however, the investment here is much higher than the prototype tooling method, and you won’t be able to test quickly your product in the market or with your engineering team.
Early changes and redesigns
When you have the possibility to interact with a low-cost prototype, you can analyze every detail of the design and performance capacities. Of course, it is not a final version or fully functional, but the physical product is very enriching.
Test your prototype with potential clients and ask them for feedback. Try showing it to investors that may support your product or provide you with new insights about the possible changes on the original design.
You can see this as a pre-manufacturing process in which you can:
- Adapt new features or remove the ones you consider are not necessary.
- Make a change in the design according to customer feedback.
- Add new parts to improve performance or resistance.
- Validate if your business idea is understood by third parties.
- Test the acceptance of the market.
- Make it more appealing and marketable.
Building a prototype can be exciting when you follow the proper steps. Use prototype tooling to make quick testing and improvements to your product, once you have done this process, you can be sure to advance to the next step of the product development process.
The final recommendation is to count on good prototype companies that can assist you in the process. Prototype tooling is of great help for prototyping, but there are other aspects and steps that need to be considered to build a great product or device, like a hardware development service.


